
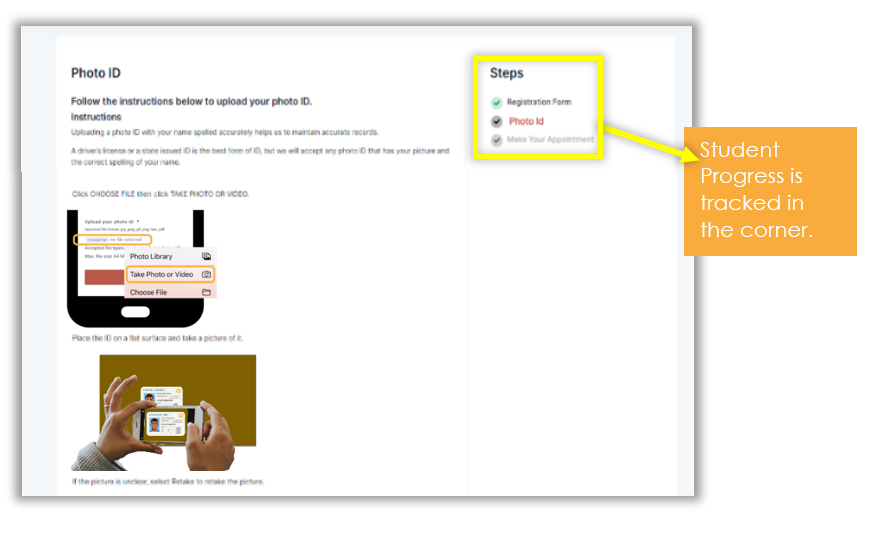
Step 3: Photo ID (optional)
When a student submits the registration form, he/she is then directed to upload a photo ID (if your school requires that). Students are given instructions that are translatable, and there are pictures to help.
When a student submits the photo ID, he/she is then directed to choose an appointment based on his/her preferences.