Step 4: Set an Appointment
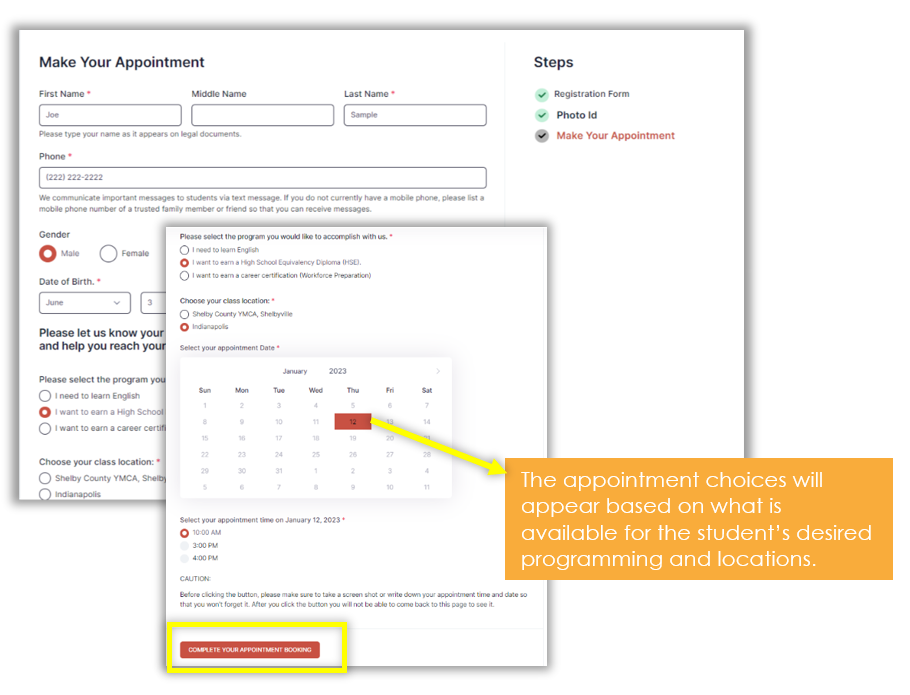
When a student submits the photo ID, he/she is then directed to choose an appointment based on his/her preferences. Fields with basic student information will have already been populated with the student’s previous answers, so the information will not have to be typed again.

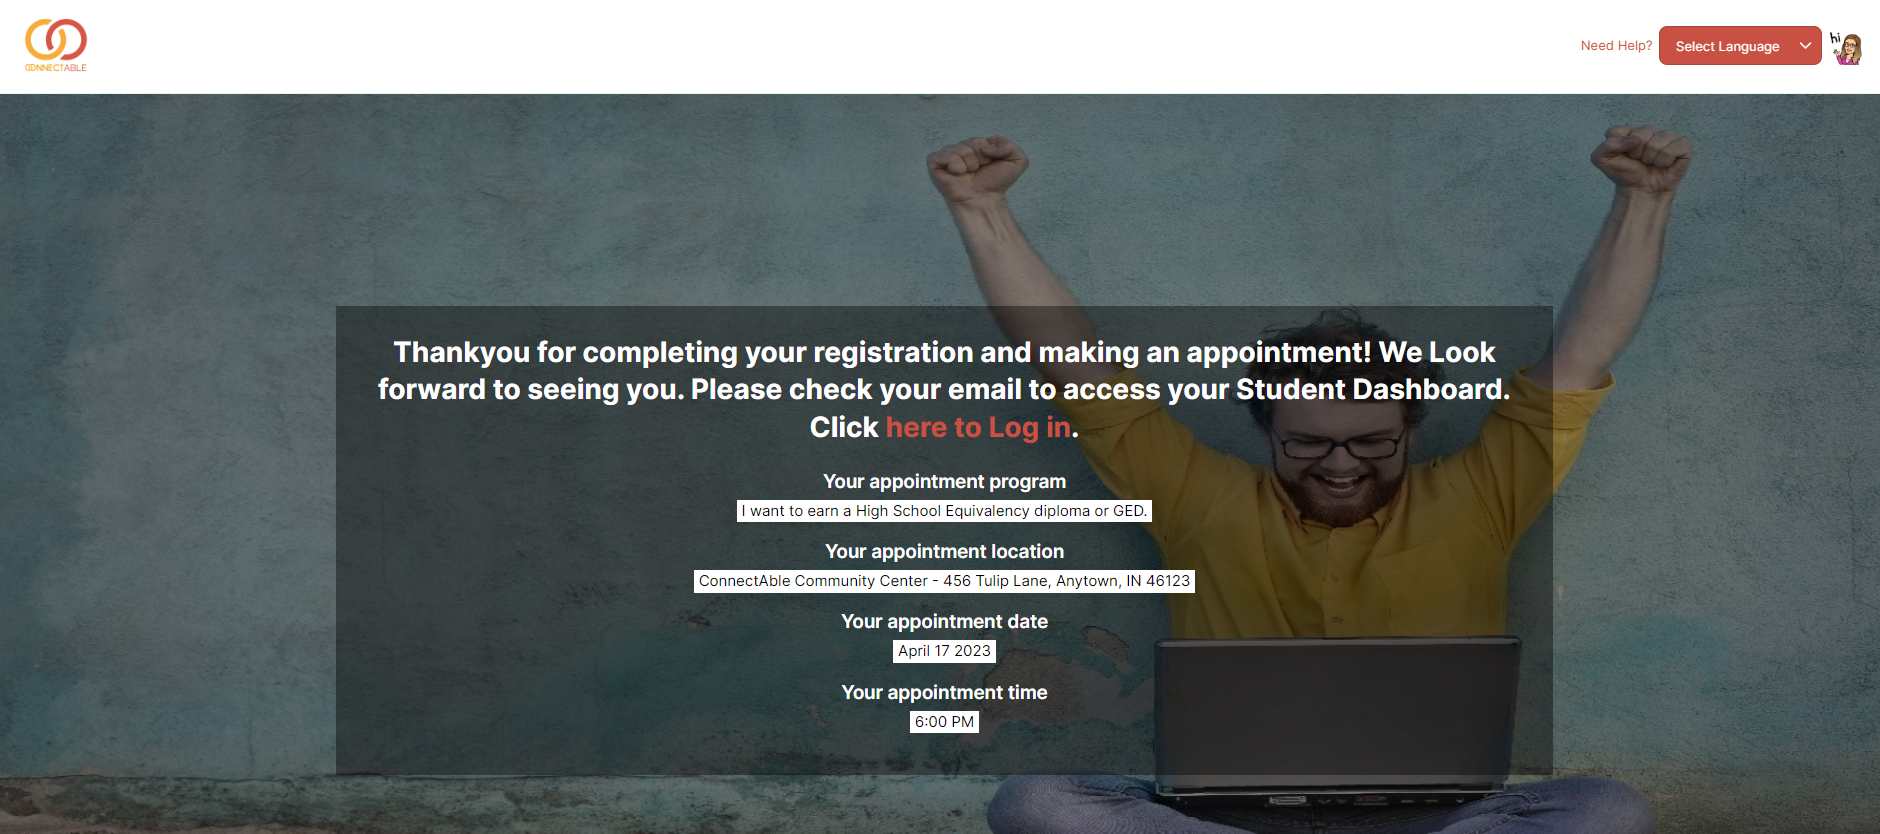
A confirmation message will appear when the appointment form is submitted, and the student will then be prompted to check his/her email for account access information to view his/her Student Dashboard, where all student information and engagement is contained.


